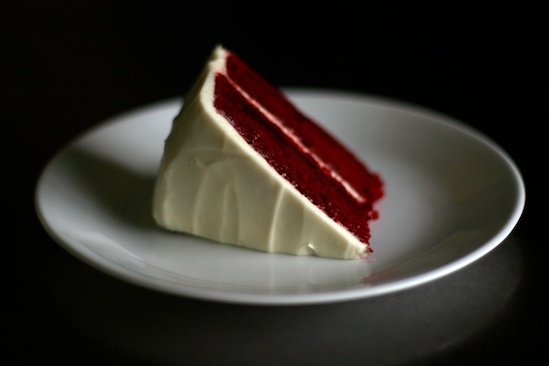
Red Velvet Cake. Until I met my husband, I had never even heard of a red velvet cake. Since it seems to be a Southern specialty, I guess it’s not surprising that I never ran across one growing up in California. But thanks to the California cupcake boom, it seems like there’s now a cupcake shop on every corner and every single one of them features some version of miniature red velvet cake.
But that’s not why I made this cake. You see, my husband’s family LOVES Red Velvet Cake. His sister Katie gets it every year for her birthday, but they all love it. From hearing Justin, Katie, and Daniel talk about it, I began to think that this mysterious red cake had magical powers. But somehow, after seven years of marriage, I have yet to taste my mother-in-law’s version.
And partly because I was tired of waiting, but mostly in celebration of a momentous occasion, I decided to take matters into my own hands, and give this cake a try myself. Luckily, I had the family recipe!
You see, right before we left Sicily last year, my husband was promoted. In the military, promotions are always a big deal, but this one happened to be a VERY big deal. I could have baked a carrot cake, which is definitely one of his favorites. I even toyed with the idea of a Black Forest Cake, another one that gets requested from time to time (maybe next time, Justin). But there was something about this Red Velvet Cake that fascinated me. And since I had THE family recipe in my book, I decided it would be a fun surprise!
Now, I won’t lie. After reading the recipe, I was a little hesitant about making a cake that uses two full ounces of red food coloring. I even got online to check other red velvet cake recipes to make sure that I had copied the recipe down right! Sure enough, lots of Red Velvet Cake recipes require the same amount of food coloring. And, I wanted to stay true to the recipe that his family loves, so I gave it a try. And in the process, lot of things in my kitchen turned red!
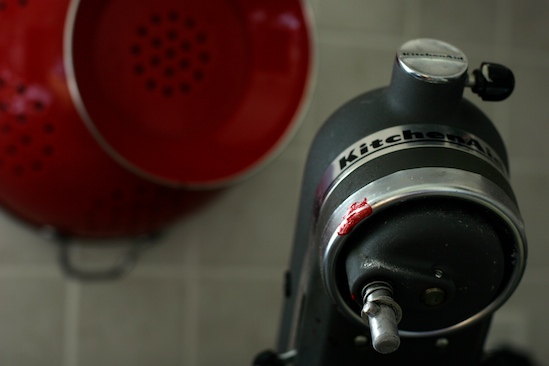
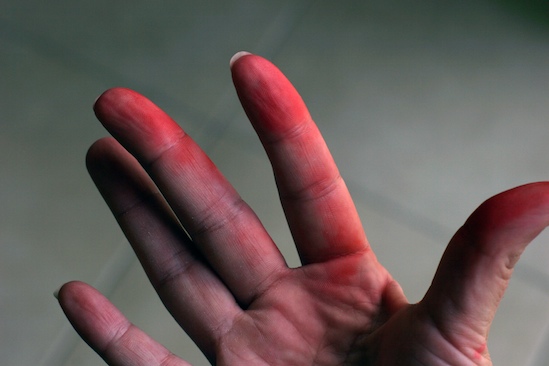
Especially my hands. Please make sure you don’t wear white clothing while making this cake!
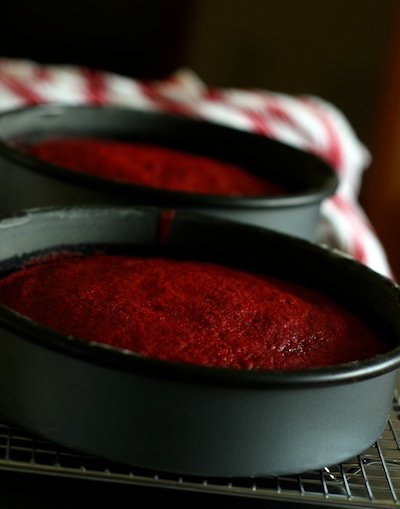
But, using all that food coloring really does make a beautiful, beautiful cake. Just look at these layers as they came out of the oven! As soon as I saw them, I was glad that I gave this cake a try.
And although it might not be the traditional frosting, my husband loves cream cheese frosting (and so do I), so that’s what I used on this cake. I baked two 9-inch layers, rather than three, since I don’t have the 8-inch cake pans. It was beautiful as it was, but I can only imagine that the three red layers would be even more beautiful and dramatic.
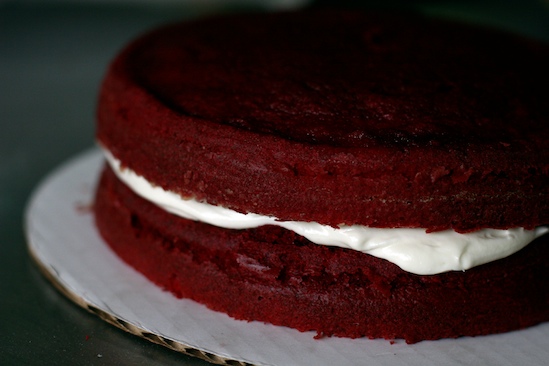
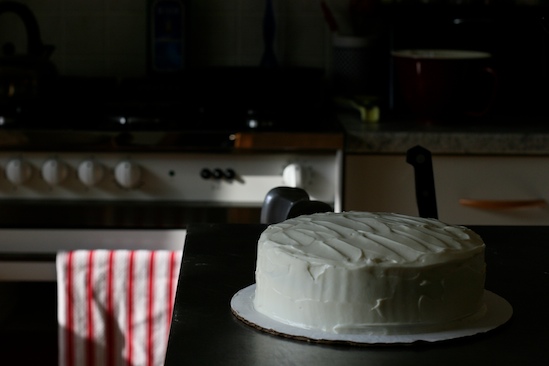
Since it’s difficult to keep the red crumbs from showing on the white frosting, I attacked this frosting job with a specific plan in mind. I first put a thin layer of frosting all over the cake, to trap the unruly red crumbs. I might have even stuck it in the fridge for a bit to set that first layer of frosting, but I honestly can’t remember now.
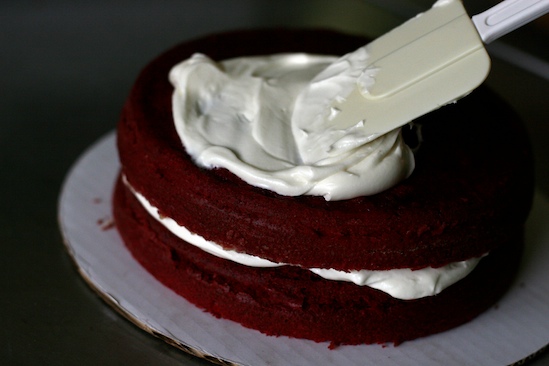
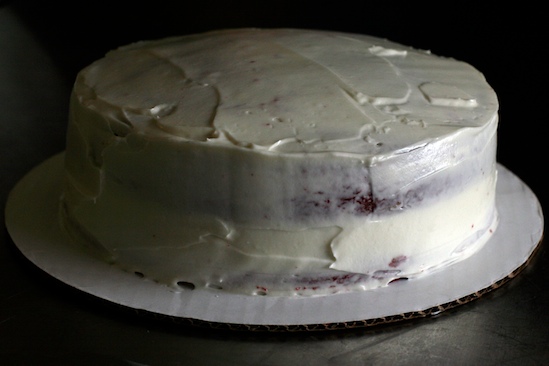
Next, I added a second layer of frosting to cover up any hint of what lay beneath.
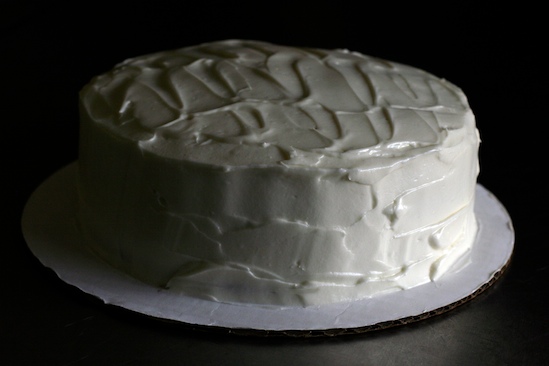
Part of what was so amazing about this cake is that once it’s frosted, no one has any idea of the bright red surprise waiting inside.
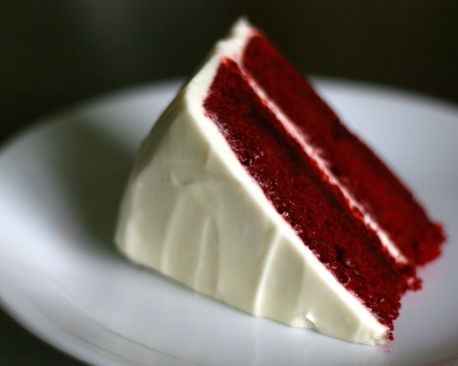
Now, although I did stay true to the amount of food coloring in the original family recipe, I did make a few small changes. For one thing, the original recipe calls for shortening, and I decided to use unsalted butter instead. It’s not that I never use shortening any more, it’s just that I generally prefer butter. And also, that’s what I had on hand the day I made the cake! If you prefer shortening in cakes, go for it! I also added an extra tablespoon of cocoa powder, the original recipe called for only one tablespoon. I think everything else is pretty true to the original.
I thought this really was a great cake. For one thing, it’s absolutely beautiful. But it’s also got a great flavor, although the flavor is really kind of hard to describe. Just trust me, it’s good. It was also very moist, which is my favorite kind of cake! And although the original recipe says you can frost it with either buttercream or cream cheese frosting, I really do recommend the cream cheese!
Update 2/4/09: I also turned this cake recipe into Red Velvet Cupcakes, just in time for Valentine’s Day!
Red Velvet Cake (a.k.a. Waldorf Astoria Cake)
2 1/2 cups sifted cake flour*
1 teaspoon baking powder
1 teaspoon salt
2 Tablespoons cocoa powder (unsweetened)
2 oz. red food coloring
1/2 cup unsalted butter, at room temperature
1 1/2 cups sugar
2 eggs, at room temperature
1 teaspoon vanilla extract
1 cup buttermilk, at room temperature
1 teaspoon white vinegar
1 teaspoon baking soda
1. Preheat oven to 350 degrees. Butter and flour two 9-inch round cake pans or three 8-inch round cake pans.
2. Sift together the cake flour, baking powder, and salt into a medium bowl; set aside. In a small bowl, mix food coloring and cocoa powder to form a thin paste without lumps; set aside.
3. In a large bowl, using a hand mixer or stand mixer, beat butter and sugar together until light and fluffy, about three minutes. Beat in eggs, one at a time, then beat in vanilla and the red cocoa paste, scraping down the bowl with a spatula as you go. Add one third of the flour mixture to the butter mixture, beat well, then beat in half of the buttermilk. Beat in another third of flour mixture, then second half of buttermilk. End with the last third of the flour mixture, beat until well combined, making sure to scrape down the bowl with a spatula.
4. Make sure you have cake pans buttered, floured, and nearby. In a small bowl, mix vinegar and baking soda. Yes, it will fizz! Add it to the cake batter and stir well to combine. Working quickly, divide batter evenly between the cake pans and place them in a preheated 350 degree oven. Bake for 25-30 minutes. Check early, cake is done when a toothpick inserted in the center comes out clean.
5. Cool the cakes in their pans on a wire rack for 10 minutes. To remove the cakes from the pan, place a wire rack on top of the cake pan and invert, then gently lift the pan. Allow cakes to cool completely before frosting. Frost with buttercream or cream cheese icing (recipe below).
Recipe Notes: *Sift cake flour once before measuring, then sift again with the other dry ingredients per recipe instructions. Wear an apron and be careful with the red food coloring–no matter how hard I try, I always end up staining something! As you’re mixing the cake batter, use a spatula to scrape down the bowl frequently throughout the entire process.
Cream Cheese Frosting
16 oz. cream cheese (2 packages), softened
1/2 cup unsalted butter (one stick), softened
1 teaspoon vanilla extract
2 1/2 cups powdered sugar, sifted
pinch of salt
1/2 cup unsalted butter (one stick), softened
1 teaspoon vanilla extract
2 1/2 cups powdered sugar, sifted
pinch of salt
With an electric mixer, blend together cream cheese and butter until smooth. Turn mixer to low speed and blend in powdered sugar, salt and vanilla extract. Turn mixer on high and beat until light and fluffy. Use immediately or refrigerate, covered, until ready to use. If refrigerated, the frosting will need to be brought to room temperature before using (after frosting softens up, beat with mixer until smooth).
Recipe Notes: If you prefer a sweeter and/or stiffer frosting, more powdered sugar can be added (up to four cups). But remember, the more sugar you add, the less you’ll be able to taste the tangy cream cheese!
Tidak ada komentar:
Posting Komentar